
How to Build a WordPress Website with AI Using MCP
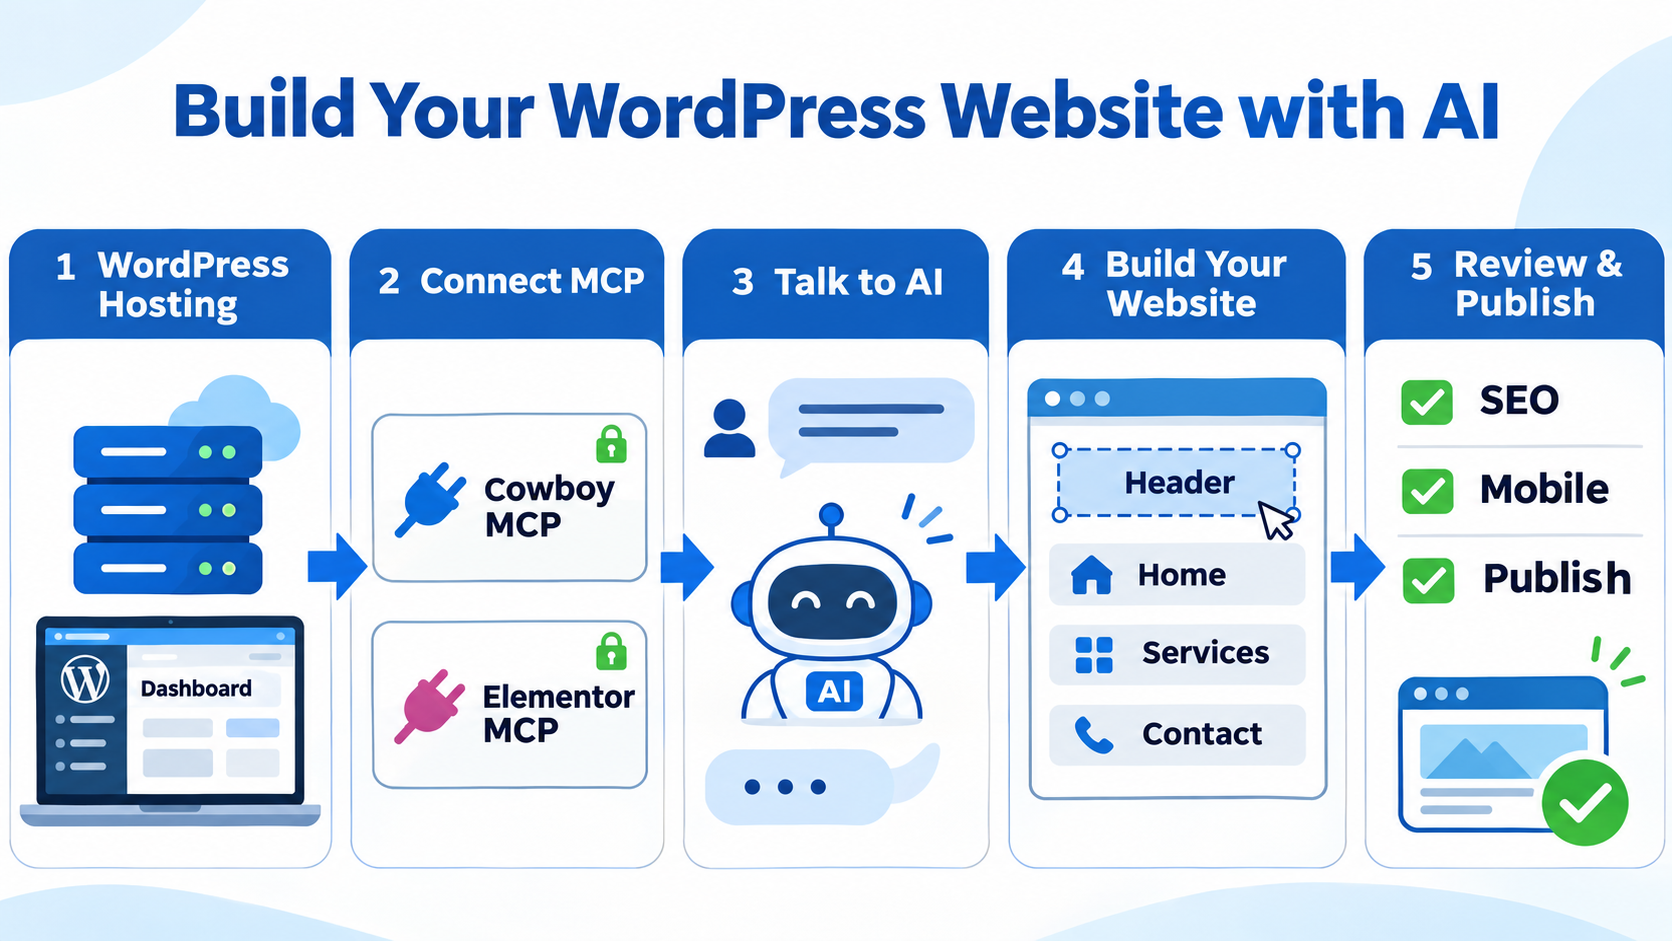
AI can help you plan, build and update a WordPress website through a conversation. Once connected, a compatible AI assistant can help install selected plugins, create editable Elementor pages, prepare website content and review basic SEO settings.
iCore WordPress Hosting provides the hosting environment and tools needed to get started. You remain in control by reviewing every draft before anything is published.
Before You Begin
You will need:
- An active iCore WordPress Hosting account.
- WordPress administrator access.
- Elementor and Elementor Pro.
- Cowboy MCP.
- Elementor MCP.
- A compatible AI assistant such as OpenAI Codex, Claude or Cursor.
- A Google account for connecting Site Kit.
Elementor Pro is included with eligible iCore WordPress Hosting plans. Check the current iCore WordPress Hosting plans before ordering.
Cowboy MCP helps the AI work with WordPress, pages and plugins. Elementor MCP allows the AI to create editable Elementor pages, headers, footers and templates.
Step 1: Connect Cowboy MCP and Elementor MCP
Connect both MCP services to your preferred AI assistant.
For Elementor MCP:
- Sign in to the WordPress Dashboard.
- Go to Elementor > Elementor MCP.
- Enable MCP access.
- Select your preferred AI client.
- Follow the displayed connection instructions.
- Complete the authorisation process.
For Cowboy MCP:
- Open the Cowboy MCP settings in WordPress.
- Confirm that the required MCP access is enabled.
- Copy the provided connection information.
- Add the connection to your AI client.
- Complete the authorisation process.
After connecting both services, copy and paste this message to your AI:
Check my WordPress, Cowboy MCP and Elementor MCP connections.

Confirm the website name and URL, then list the available tools.

Do not make any changes yet.
Make sure the AI reports the correct website before continuing.
Step 2: Check the Existing WordPress Plugins
Ask the AI to inspect the existing plugins before installing anything:
Check my existing WordPress plugins for duplicate functions, outdated plugins or possible conflicts.

Recommend what I should do before installing anything.

Do not remove, deactivate or change any plugin without my approval.
Avoid installing multiple plugins that perform the same caching, security, page-building or SEO functions.
Step 3: Install Site Kit and Rank Math SEO
After checking the existing plugins, copy and paste:
Install and activate Site Kit by Google and Rank Math SEO.

Do not change their settings yet.

Report the installed versions and activation status when finished.
Site Kit by Google
Site Kit can connect WordPress to services such as Google Search Console, Google Analytics and PageSpeed Insights. It helps you review how visitors find and use your website.
After the plugin is activated, sign in to your Google account and complete the authorisation yourself. Never send your Google password or verification code to an AI assistant.
Read the official Site Kit setup guide.
Rank Math SEO
Rank Math helps manage SEO titles, meta descriptions, schema, XML sitemaps and search indexing settings. It can support the technical and content foundations needed for traditional search and AI search visibility.
Installing an SEO plugin does not guarantee Google rankings or AI citations.
Step 4: Set Up the Website Name and Business Information
Prepare the following information:
- Website and business name.
- Website tagline.
- Short business description.
- Logo and site icon.
- Business address.
- Telephone and WhatsApp number.
- Contact email.
- Business hours.
- Social media links.
- Website language and timezone.
Copy and paste:
Help me set up my website name and business information.

Ask me for the website title, tagline, business description, logo, site icon, contact details, business hours, social media links, language and timezone.

Summarise everything for my approval before updating WordPress.

Do not change the WordPress URL, website URL, administrator email or permalink settings without my approval.
After providing the information, copy and paste:
Review the website information I provided.

Identify anything missing or inconsistent.

After I confirm the final details, update only the approved WordPress settings and report every change made.
Step 5: Discuss the Website Design Direction
Before creating pages, prepare your products or services, target customers, preferred colours, logo, images, required pages, main call to action and examples of websites you like.
Copy and paste:
Let’s discuss the design direction for my website.

Ask me one section at a time about my business, target customers, products or services, branding, preferred colours, required pages and primary call to action.

Do not build anything until I confirm the final plan.
After the discussion, copy and paste:
Summarise my website brief, page structure, content requirements and design direction.

Clearly list any missing information.

Wait for my confirmation before creating anything.
Step 6: Set the Working Rules
AI should not invent important business information or publish unapproved changes.
Do not invent prices, statistics, testimonials, certifications, addresses, company history or service guarantees.

Ask me for any missing business information.

Create drafts and previews first.

Do not publish or make major changes without my approval.
Step 7: Create the Website Design System
A design system keeps every page consistent. It should cover colours, typography, headings, buttons, content width, spacing and responsive layouts.
Based on the approved website brief, propose a design system covering colours, typography, headings, buttons, content width, spacing and responsive layouts.

Explain your recommendations and wait for my approval before applying them.
Step 8: Create the Header and Footer
Create a global header and footer using Elementor Pro Theme Builder.

Include the approved logo, navigation, contact details and call-to-action button.

Keep both as drafts and provide preview links for desktop and mobile review.
Check the logo, menu, contact information and buttons before approving them.
Step 9: Create the Home Page
Create my Home page in Elementor based on the approved website brief and design system.

Use editable Elementor elements.

Keep the page as a draft and provide desktop, tablet and mobile previews.

Do not publish it.
Review the Home page and tell the AI what should be corrected or improved.
Step 10: Build the Remaining Pages
Continue one page at a time. Common business website pages include About, Services, individual service pages, Contact and Privacy Policy.
Replace [PAGE NAME] and copy the following message:
Let’s discuss my [PAGE NAME] page.

Ask me what information you need and propose the page sections.

Wait for my approval, then create it in Elementor as a draft.

Provide desktop and mobile previews when finished.
Use the same process for every page:
Discuss → Confirm → Create Draft → Preview → Revise → Approve
Step 11: Review SEO and AI Search Visibility
After approving a page, copy and paste:
Review this page for SEO and AI search visibility.

Check the SEO title, meta description, heading structure, content clarity, image alternative text, internal links and suitable schema.

Avoid keyword stuffing.

Show me your recommendations before applying major changes.
Review all keywords, descriptions and business claims before approving them.
Step 12: Complete the Final Website Check
Perform a final review of my entire website.

Check the header, footer, navigation, desktop, tablet and mobile layouts, buttons, forms, links, images, spelling, SEO settings, indexing, sitemap, accessibility and loading performance.

Do not publish or make major changes without my approval.

Report the checks passed, problems found and recommended corrections.
The final review should include navigation, responsive layouts, forms, contact links, images, spelling, business information, SEO metadata, schema, sitemap, indexing, loading performance, HTTPS, backups, placeholder content, Privacy Policy and the 404 page.
Security Recommendations
An authorised AI assistant may be able to make changes to your WordPress website.
- Begin with a read-only inspection.
- Confirm the website name and URL before making changes.
- Ask the AI to explain its plan first.
- Create and verify a backup before major changes.
- Keep new pages and templates as drafts.
- Review desktop and mobile previews.
- Never share passwords, private keys, API tokens or verification codes.
- Verify every important change after it is completed.
- Disconnect MCP access when it is no longer required.
Continue Managing Your Website with AI
After launch, you can continue using AI to add pages, update services, improve content and review website performance.
Always ask the AI to explain the proposed changes, create a draft and provide a preview before publishing.
Still Not Sure How to Get Started?
Contact iCore for assistance. Our team can help you choose a suitable WordPress Hosting plan, understand the setup and connect the tools needed to start building your website with AI.
Get Started Now
Order your iCore WordPress Hosting plan and start building your business website.
Need help choosing a plan? Contact iCore for assistance.